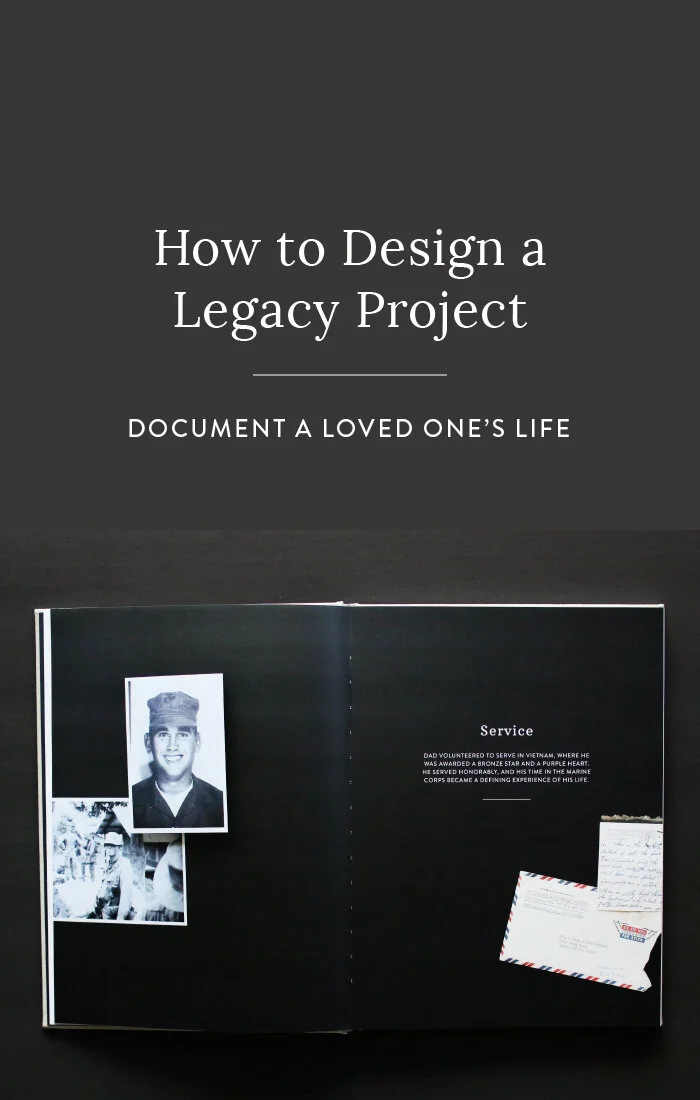
How to Design a Legacy Project
A client came to me with a project idea.
Her father had passed away earlier that year and she wanted to do something with his photos and memorabilia, something she could give to her kids and her mom to commemorate his life.
As a memory keeper and a mom of young kids, I’m primarily focused on documenting life in the “micro:” this school year, this summer vacation, this Christmas.
But sometimes the occasion presents itself to document life in the “macro,” and we face the task of trying to capture a loved one’s life in a single photo book project.
My client was describing a legacy project, a single memory keeping project that documents a loved one’s life. The project can be anything: a photo book, album, video, etc.
We decided to design a photo book so she could order extra copies for family members.
Legacy projects can be daunting.
How on earth do you distill an entire life in one single photo book?
And how do you do it without getting totally overwhelmed?
This post explores a few of my tips to get you started and keep you on track if you want to celebrate a loved one’s life in a photo book.
1 / Identify the most significant segments of your loved one’s life
My client started this project where many of us do: by gathering all kinds of materials.
She collected old photos, slides, recipes, newspaper clippings, maps, and more from her parents’ house and brought them home.
When I arrived to help her start working on the project, her room was filled with his life, and she was totally overwhelmed with where to start.
Start with the most significant stories
I recommend beginning by thinking about most significant stories you want to tell about their life, and list those big segments of time or topic.
You might include things like childhood, marriage, parenthood, grandchildren, friends, and/or career.
My client’s father had family, friends, and hobbies, so of course we wanted to include them.
Tell the stories that mattered to your loved one
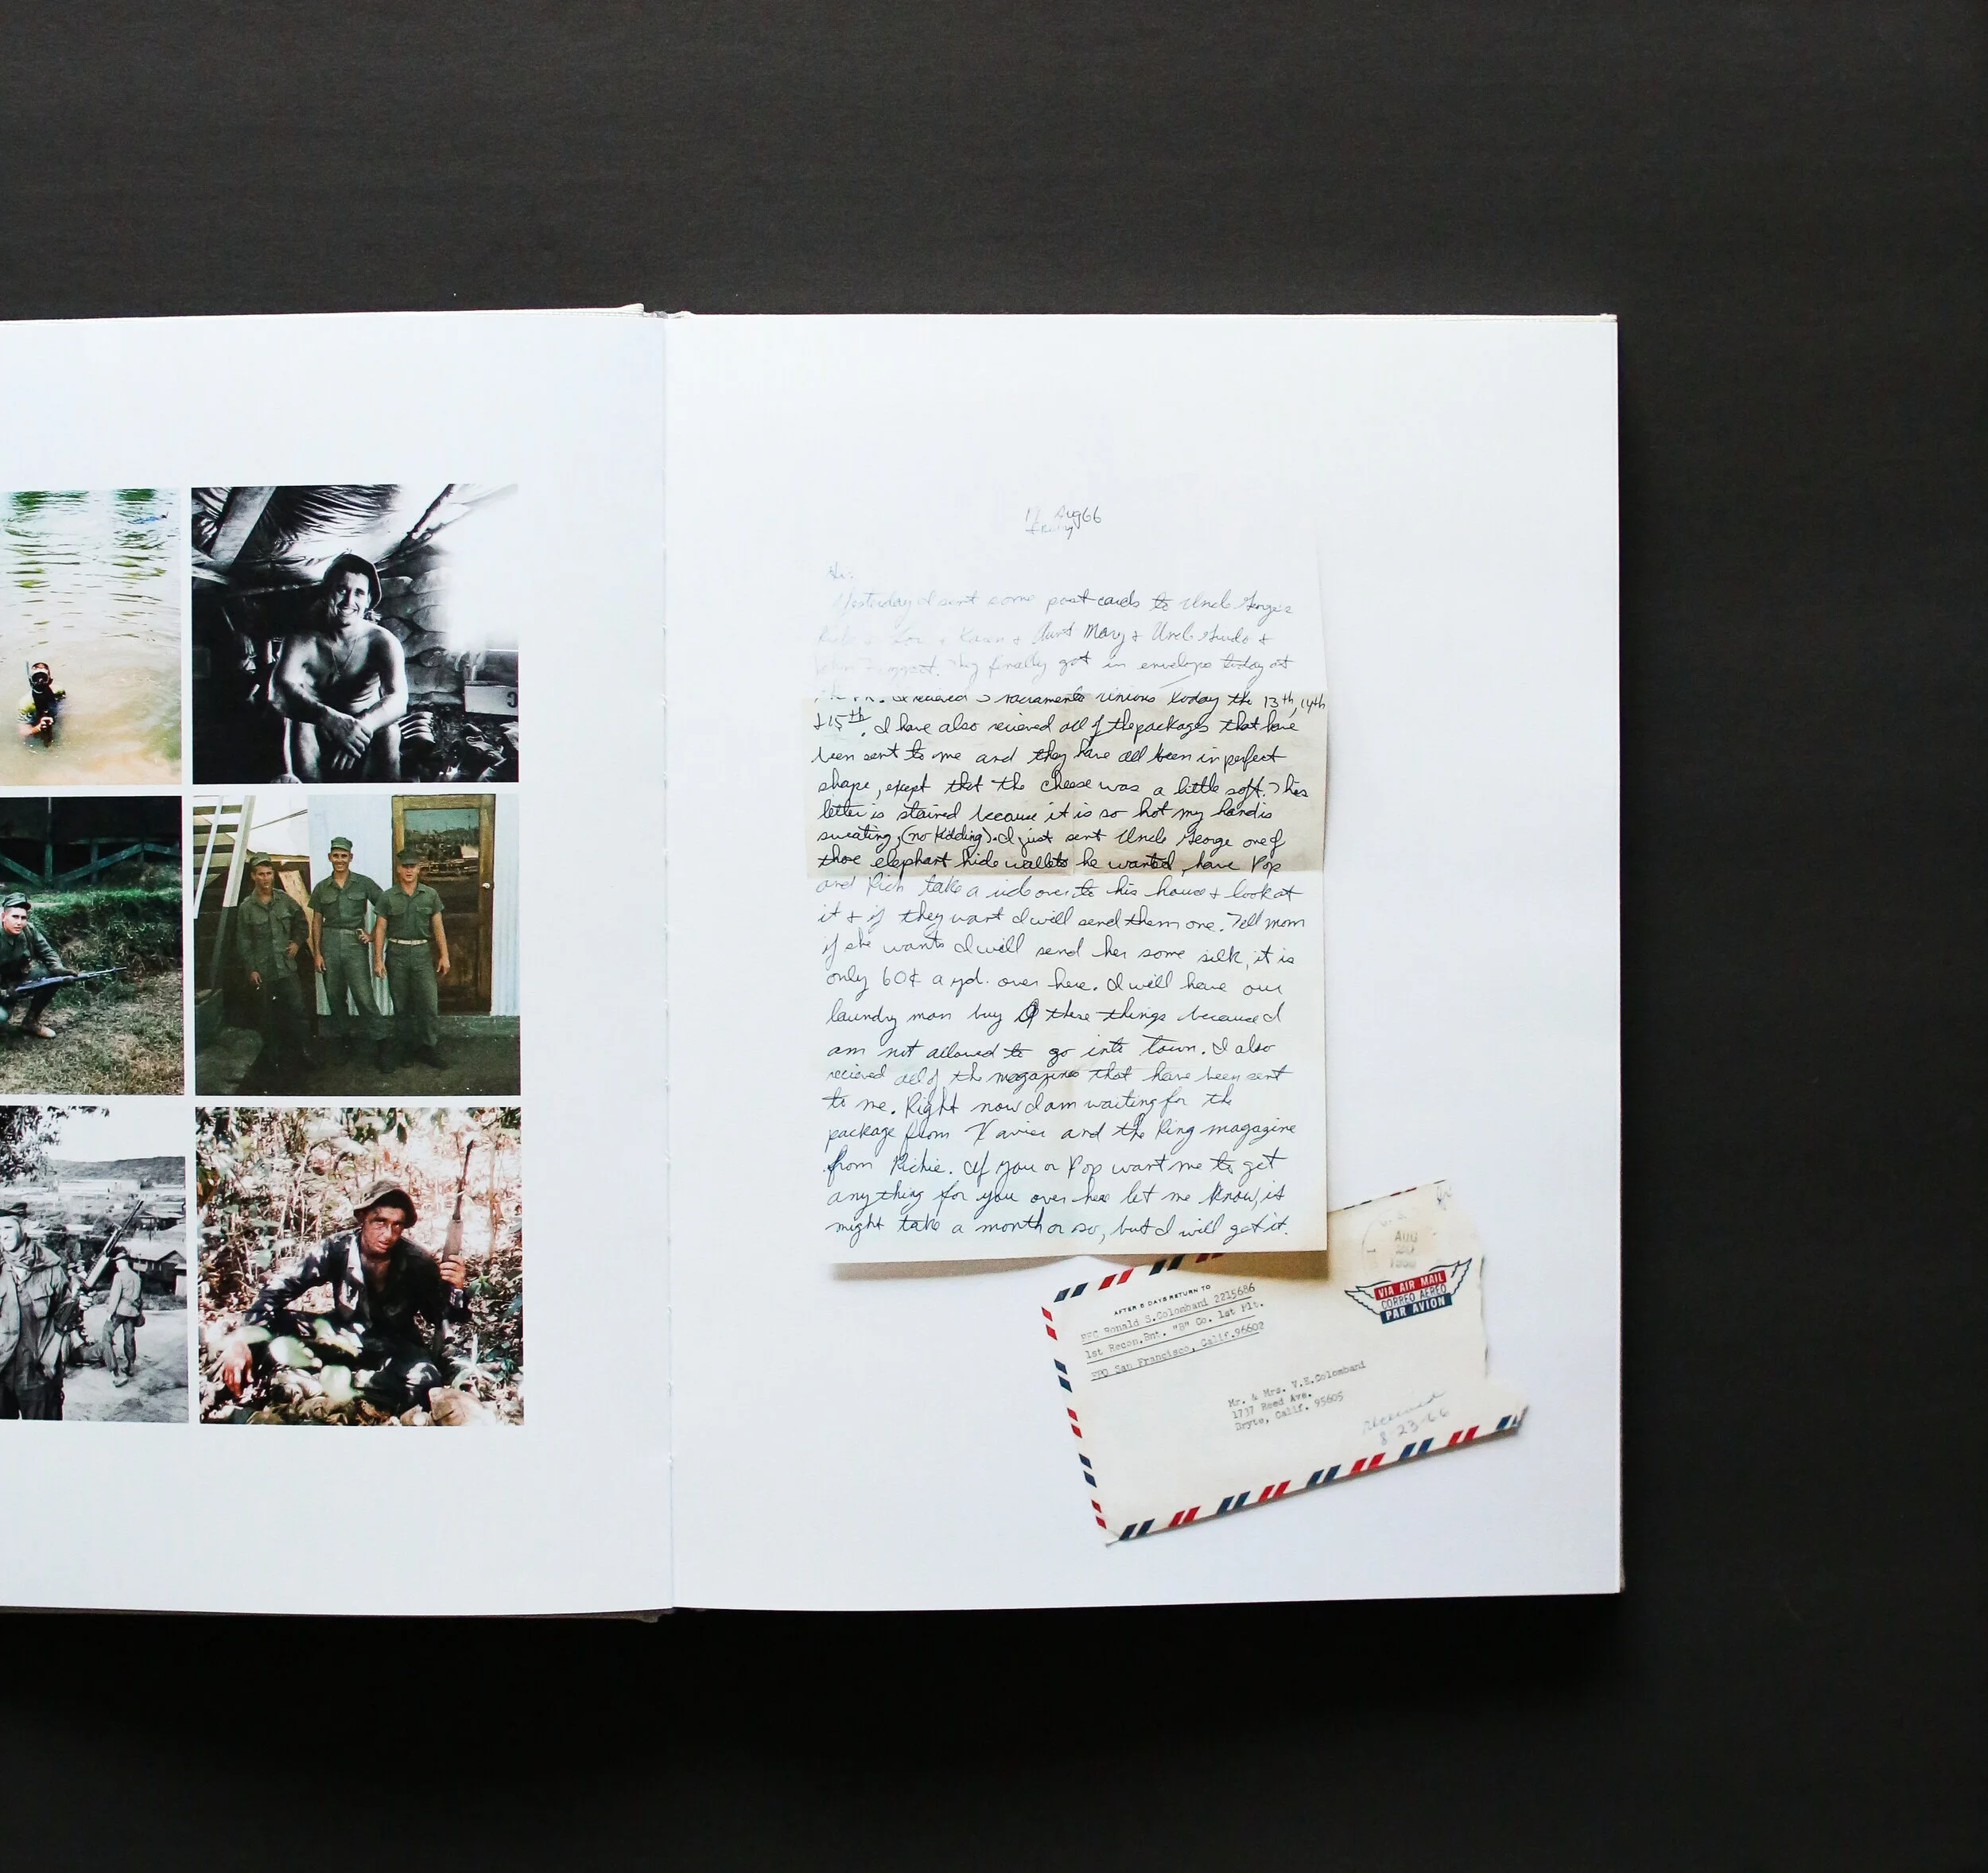
My client’s father also enlisted in the Marines during Vietnam and that decision changed his life forever. He deployed to Vietnam, served honorably, won an award, and returned home at a time when you had to hide your military service.
There’s a pretty significant story there about the kind of person my friend’s father was, so we had to include those years in a major way.
Even though they didn’t make up 20 percent of his life, the section on his time as a Marine took up about 20 percent of the book because it had an outsized influence on his life.
You don’t have to go year by year
Although the sections would be roughly chronological, I wanted to divide the book into topical chapters that would be easy to identify years from now and tell a compelling story.
Ultimately, we broke the project into sections for his childhood, military service, marriage, children, grandchildren, friends, hobbies, and the memorial.
When documenting someone’s life, start by considering the elements of their life that were most significant to them and come up with large groups or sections of memories.
2 / Use materials to tell significant stories
When you’re designing a biographical project, no matter the length of your loved one’s life, there will likely be lots and lots of materials you can include.
From photos to passports, letters, awards, newspaper clippings, recipes, and of course digital photos, you will probably have more than enough materials to put your book together.
The problem will be choosing what to include (and what to leave out of the project).
First, don’t worry about what you exclude.
This can be difficult when you’re documenting a life. It can feel final (it isn’t).
Let me assure you that anything you decide to include will be a beautiful addition to your project. You’ll treasure this when it’s done.
So don’t feel guilty about leaving some items out.
If you’re documenting their marriage, then you’ll want a wedding photo. You don’t need to include the invitation, program, a piece of grandma’s veil, etc. One wedding photo will suffice.
Get the idea? You’ll have more than you can capture in one book, so don’t be afraid to be selective.
In this case, it would be better to give an overview of their life than a deep dive on one day (unless that day is incredibly pivotal to their story).
Make a list of non-negotiables
Use your best judgment, but making a list of non-negotiable items to include will help direct your search for and selection of which materials to include.
For my client’s project, we went section by section and chose the materials that best told the stories for those sections.
For his childhood, we included a couple of gorgeous old baby photos (you can scan or photograph them). We included a picture of the car he loved, and photos of his brother and parents.
He was a champion boxer and proud of it, so my client wanted to include an old newspaper article and even a trophy, which I photographed to include in the book.
For his service in Vietnam, my client had dozens of slides converted to digital photos, which we used. They’re incredible photos, so we included lots of them.
Other non-negotiables: a wedding photo, photos of the kids and grandkids, a few of his recipes (he was a big cook!), pictures of friends, and pictures of him in his beloved garden at home in California.
Finally, my client had the memorial photographed, which was a stroke of genius. We used those photos to commemorate his celebration of life, a weekend that gathered family and old friends to remember him.
Remember: you’ll have so many memories from which to choose.
Make a list of what must be included, and photograph, scan, or include those memories. The rest is gravy.
3 / Get organized
A large scale project like a legacy photo book requires some serious organization so you don’t get in over your head.
create folders for each section of your project.
I start every project by dividing it into sections (in this case, the significant segments of a loved one’s life).
Then, I create folders in Dropbox for each section. That way you can share those folders with other family members and they can drop pictures into shared folders.
This allows you to easily collect photos and work through sections one at a time, which helps fight overwhelm.
I pick a section, give it a rough photo count, and work to narrow down my selections so the book doesn’t get too packed with photos.
Staying organized is key.
My folders usually go from a photo dump to a smaller selection to a group of edited photos I’ll upload to my photo book program.
Organizing your materials is key to getting across the finish line on a project like this.
If you’re ready to commemorate a loved one’s life, or tackle any major memory keeping project, download my free photo book planner.
It includes my entire step-by-step process with a detailed checklist you can print and use to finish your own legacy project.


