paper tutorial | working with vellum

I wanted to include Ben's birthday invitation in the mini-album I'm doing for Nick while he's on deployment, so I addressed one of the envelopes to him out on the boat. But how to include it so you could see the front? Vellum! It's a translucent paper, and I happened to have some leftover from our wedding. Here's what I used to create this page:
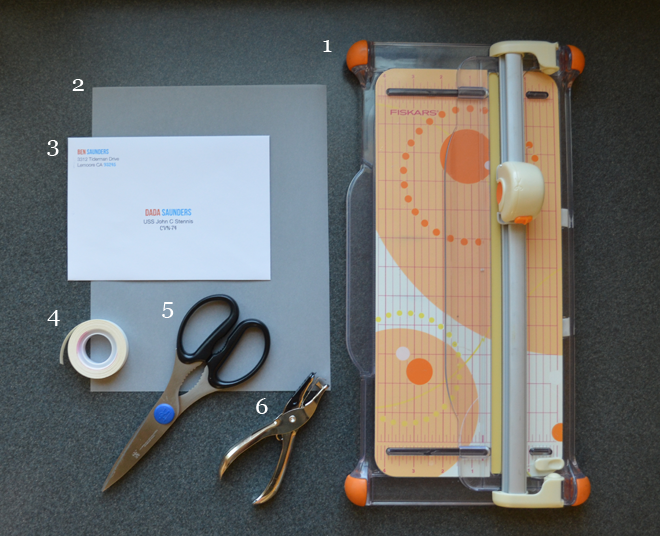
Supplies // (1) paper cutter (2) vellum (3) envelope (4) vellum tape (5) scissors (6) single hole punch.
1. I printed a little message on my 8.5 x 11 inch sheet of vellum. Start affixing the adhesive by cutting pieces of the vellum tape and placing them along the length of each edge of your envelope. Press them down so they're adhered really well. Then lift gently. You should be leaving a row of glue on the page.

2. Next, place the vellum on top of the envelope and press down. Make sure you rub where you've laid the vellum tape.

3. Trim the vellum to your desired size. Be sure to leave room to punch holes, if you're putting the page in a 3-ring binder. I trimmed my page to 6.25 inches wide by 8 inches tall.

4. If you're punching odd-sized holes, consider using another page from your album as a "guide" for punching the holes.

Here's what the page looks like again from the front:

And here's the back, with the envelope flap open and ready to view its contents.
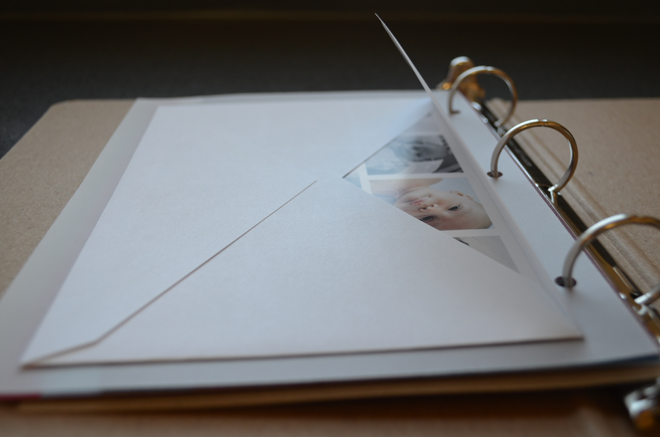
You can learn more about the invitation enclosed in the envelope HERE.